If a dialog titled
Web Proxy Login appears when using or validating your account with GP4, the following solutions will help get GP4 configured to use your proxy server.
The list of solutions starts with the most common solutions at the top and ends with the least common.
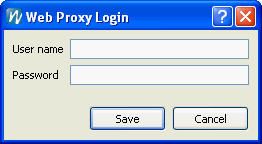 |
| The GP4 Web Proxy Login Dialog. |
Solution #1 - Using the Auto Discover option in GP4 to Detect the Proxy Server
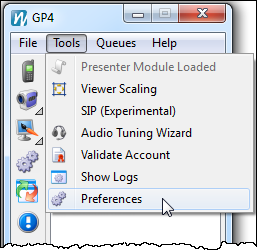
- Select Preferences from the Tools menu in GP4 to open the Preferences dialog (Mac users should select Preferences from the gp4 menu).
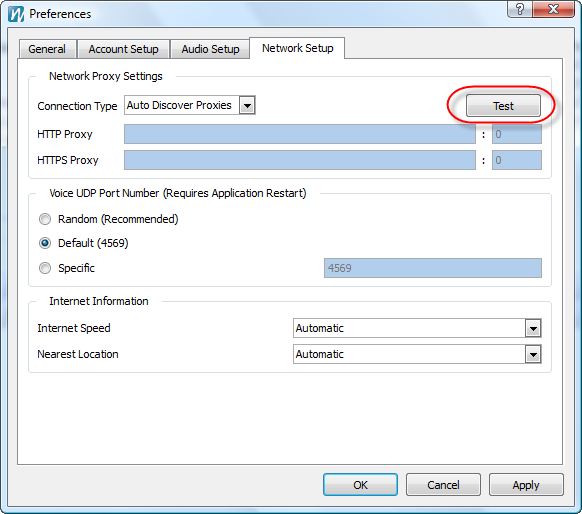
- Select the Network Setup tab on the Preferences dialog.
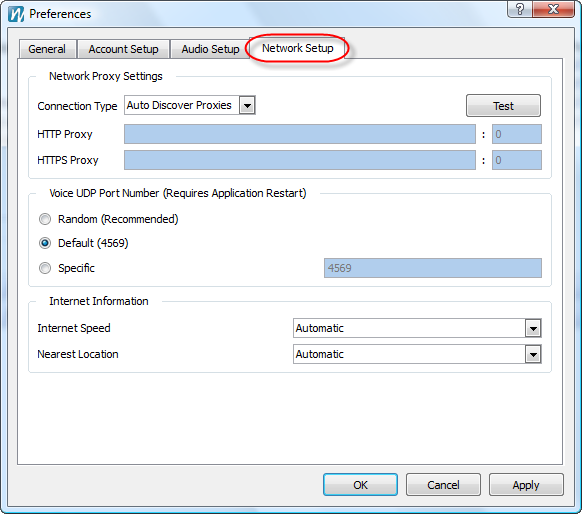
- Set the Connection Type to Auto Discover Proxies.
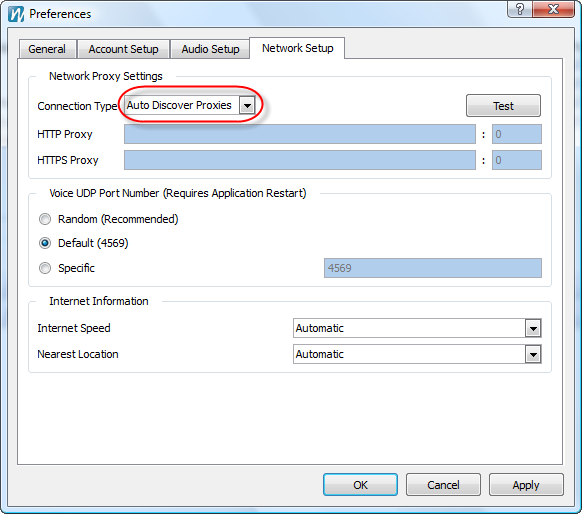
- Click the Test button.
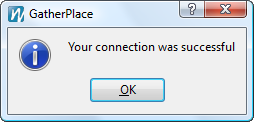
- You should see a Your connection was successful dialog within 10-15 seconds (shown below).
If you do not receive the successful message, continue on to the next solution below.
- Select Preferences from the Tools menu to open the Preferences dialog.
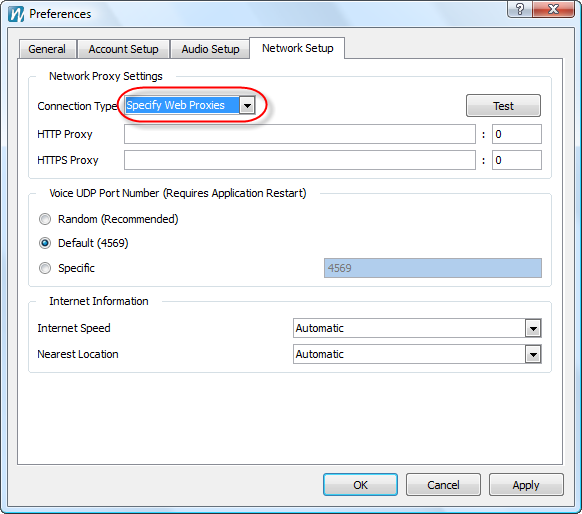
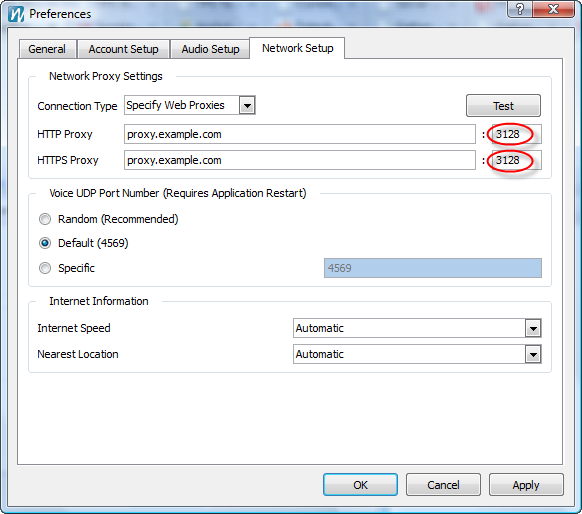
- Select the Network Setup tab on the Preferences dialog.
- Set the Connection Type to Specify Web Proxies.
- Enter the proxy server address into the first fields (before the colon) of both the HTTP Proxy and HTTPS Proxy fields.
Note: If you do not know the address of your proxy server, see the Using a Web Browser to Find the Proxy Server Information section below.
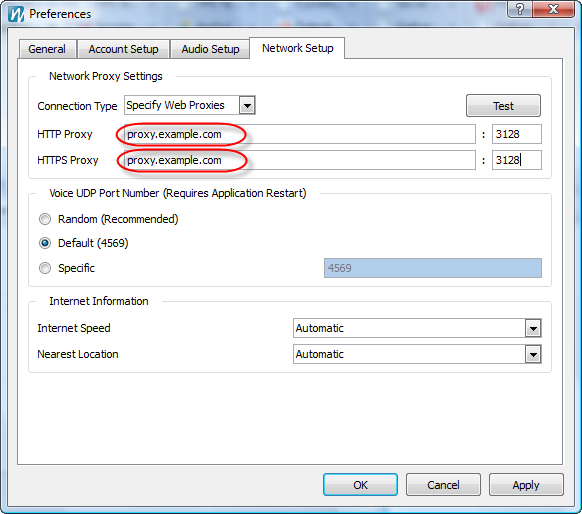
- Enter the port number into both the HTTP Proxy and HTTPS Proxy port number fields (the ones after the colon).
- Click the Test button.
- You should see a Your connection was successful dialog withing 10-15 seconds (shown below).
If you do not receive the successful message, continue on to solution #3 below.
In some cases, usually in a corporate environment, the IT department will require all outside network traffic to go through a proxy server.
If you have access to the Internet from you location, your web browser will usually be configured to use the proxy server and in these cases you can check the browser settings to get the proxy information.
Below are the instructions for getting the proxy information from the most popular browsers.
Internet Explorer- Open Internet Explorer and select Internet Options from the Tools menu.
- Click on the Connections tab of the Internet Options dialog and then the LAN Settings... button near the bottom.
The proxy information should be listed in the Proxy Server section of the LAN Settings dialog that opened.
- Copy the Address and Port information and enter it into the GP4 Network Setup Preferences as shown above.
Firefox- Open Firefox and select Options... from the Tools menu to open the Options dialog.
- Select the Advanced tab and then click the Network tab.
- Click the Settings button in the Connection section to open the Connection Settings dialog.
- Copy the Address and Port information and enter it into the GP4 Network Setup Preferences as shown above.
Safari- Select Preferences from the Safari menu.
- Select the Advanced tab and click the Change Settings... button to open the Mac network control panel.
- Select the Proxies tab and click the Web Proxy (HTTP) entry in the proxy server list.
- Copy the Address and Port information and enter it into the GP4 Network Setup Preferences as shown above.
- Do the same for the Web Proxy (HTTP) entry in the proxy server list.
Obtain the User Name and Password for the proxy server from the IT department and enter them in the Web Proxy Login dialog when it appears.
If the IT staff needs to know which ports, IP addresses, or DNS names GatherPlace uses for the communication to our servers, please refer them to
this article.
